How a Budding Home Barista Prepared This Cup Of Espresso (Part 1)
Share
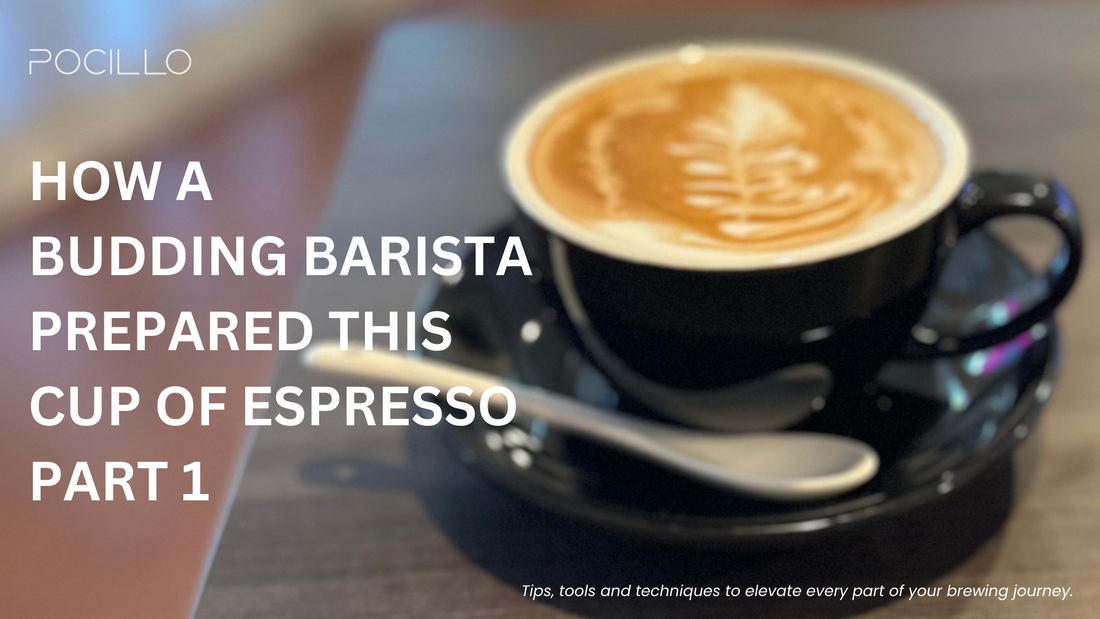
You don't need to be a professional barista to make a great shot of espresso. With the right tools and a little practice, you can consistently pull delicious, cafe-quality espresso right from your kitchen. This guide will walk you through the step-by-step process a Pocillo customer and budding home barista followed to prepare this cup of coffee.
The Recipe & Process
The secret to great espresso starts with the beans. Always use freshly roasted, whole beans, ideally within 1–2 months of the roast date. This ensures maximum flavor and allows you to grind them properly. Pre-ground coffee is almost always too coarse for espresso and will result in a watery, under-extracted shot. For this recipe, we'll use an 18-gram dose of beans.
Step-by-Step Espresso Routine
1. Weigh the Beans
First, place a magnetic dosing ring on your portafilter basket. This little tool helps keep your workspace clean and prevents coffee grounds from spilling. Next, place the portafilter (with the ring) on a digital scale and zero it out*. Add your whole beans until the scale reads 18g. (Note: I usually add 18.2g to account for any retention in the grinder.)
* "Zero it out" means to reset the display to zero. It's also commonly referred to as "taring" or "tare weight." When you place an empty container (like a portafilter with a dosing ring) on a scale, the scale shows the weight of that container. By "zeroing it out," you're telling the scale to ignore the weight of the container and treat it as a new starting point. This allows you to accurately measure only the weight of the new ingredient you add—in this case, the whole coffee beans.
2. Grind the Beans
Add your beans to the grinder. For this setup, a grind level of 4–5 is a great starting point. Once your beans are ground, re-weigh the grounds. If your grinder retention is less than 0.2g, you're good to go. Place the coffee grounds back into the portafilter
3. Distribute the Grounds
Using a WDT tool (Weiss Distribution Technique), stir the grounds to break up any clumps. This is a crucial step that helps prevent channeling, which is when water finds a fast path through the coffee bed, leading to uneven extraction.
4. Flatten and Tamp the Grounds
Give the portafilter a gentle tap on the counter to settle the grounds, then remove the dosing ring. Use a gravity distributor to level the coffee bed, then use a tamper to press down with about 30 pounds of pressure. A firm, even tamp is key to creating a solid puck that resists channeling.
5. Add a Puck Screen (Optional)
For an extra layer of consistency and a cleaner machine, consider adding a paper or metal puck screen on top of the tamped coffee. This helps distribute water more evenly during extraction.
6. Prepare Espresso Grounds for Extraction
Insert the portafilter into your machine. If you haven't already, turn on the machine while you're grinding to preheat the group head. Before brewing, run a single shot of water through the group head to pre-wet a towel and clear out any old grounds.
7. Brew the Espresso
Place a digital scale and a shot glass or measuring cup on the drip tray and zero the scale. Press the double-shot button and start a timer.
Your goal is to achieve a 1:2 ratio: 18g in, 36g out, in about 25–30 seconds.
If your yield is too high (e.g., 36g is reached too quickly), your grind is too coarse. Grind finer to slow the flow. If your yield is too low (e.g., it takes more than 30 seconds to reach 36g), your grind is too fine. Grind coarser to speed up the flow.
This process is known as "dialing in," and it's something you'll need to do every time you open a new bag of coffee.
Enjoy!
With these steps, you'll be well on your way to brewing delicious espresso. Remember, a little fine-tuning is all part of the process. So, don't be afraid to experiment and find what works best for your setup and your taste.